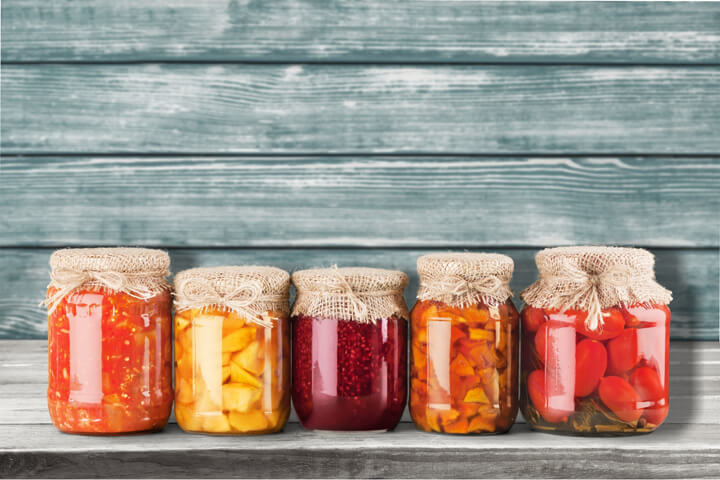
Growing and Canning Your Own Food

Posted by howtoc67 on
Our Blog

When it comes to canning, the fresher the produce the better the flavor and the longer the shelf life would be of the canned produce. Avoid store-bought fruits and vegetables; these have been in cold storage which results in shorter shelf life and poorer flavor. Opt instead for products purchased from a farmers market or your garden.

How to Choose Produce to Can

If electing to purchase from a farmers market, make sure the product is really from local farms and has been picked within three days of purchase. You can tell if the food is local by checking for distributor labels, rubber bands or ties, boxes from retailers, and so forth while at the market stalls. Also, doing proper research on the farmer’s market or farmer stall helps to ensure the food is locally grown and not purchased in bulk from a distributor.

Even better yet, grow your produce for the best results. Home-grown foods picked at the peak of freshness and canned weekly or semi-weekly result in a delicious and fresh-picked taste that will win awards and smiles over store-bought goods. Research is the key to perfect canning. Find out which foods should be picked in the morning and which should be picked in the evening for the best flavor.

The Best Fruits for Home-Grown Canning

The easiest produce for homemade canning are fruits like peaches, nectarines, plums, apricots, berries, quinces, oranges, apples, and cherries. These are also easier to grow and produce a large harvest from a single tree or two. Most fruits are high-acid and usually, a lot of sugar goes into the process which further helps keep the fruits from spoiling.

Most fruit trees and vines are low maintenance compared to a vegetable garden. Simply prune and fertilize once to twice a year at the appropriate season, and water them frequently. Plus, each fruit ripens in a slightly different week or month all summer long, if you choose the right varieties, making it easier to deal with one type of product that week.

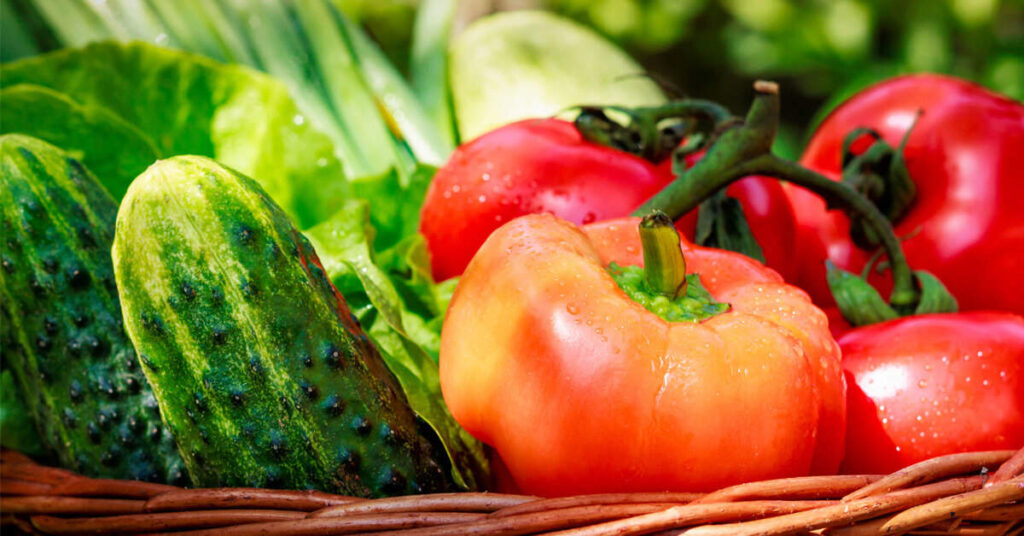
The Easiest Vegetables to Grow and Can

Vegetables take a bit more maintenance than fruits to grow and can. Low-acid vegetables need to be canned more carefully to prevent spoilage. However, like fruits, the right garden can produce something to can weekly or bi-weekly all year long.

When setting up a home-grown garden for canning, select vegetables for particular seasons:

Winter Garden Produce:

  • Cabbage
  • Brussels sprouts (in coastal areas)
  • Kale

Spring Garden Produce:

  • Asparagus
  • Celery
  • Dark leafy greens like spinach

Summer through Fall Garden Produce:

Green Beans or Long Beans
Rhubarb
Peppers
Okra
Onions and Garlic
Peas
Zucchini
Dark Leafy Greens like Kale and Swiss Chard
Herbs

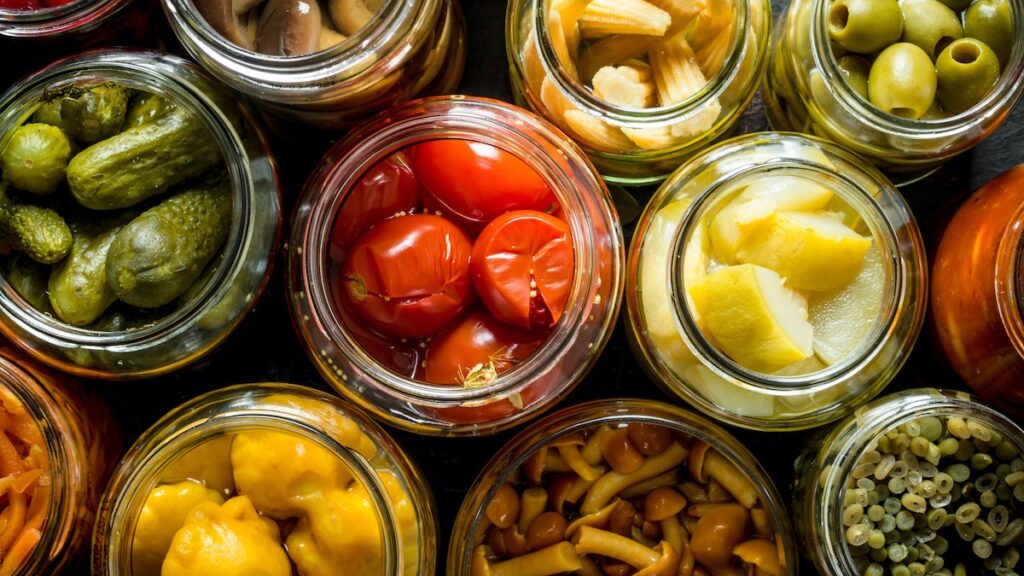
Even a small family garden, or container garden, can produce enough to stockpile canned produce. Many of these foods can well with little or no previous cooking. Simply scrub them, chop them up, stuff them into a jar, pour boiling water over them, screw on a lid, and put them into the pressure canner. Each vegetable, vegetable blend, or relish has a specific time and recipe that needs to be followed to the letter when canning it. Failure to follow a recipe for a particular food can result in an inedible product, or worse, spoilage.

Other foods not mentioned in this article are not recommended for homemade canning because the time and effort in growing and/or preparing them makes it not worth it, especially for a beginner. The fruits and vegetables listed tend to grow large harvests with little space. And, when picked and canned right away, also last longer on the shelves and retain their flavor.

Homegrown produce not only tastes better but may be better for you since store-bought canned or fresh vegetables tend to lose important nutrients the longer they sit. Additionally, it will save money. With the right soil conditions and care, home gardens can typically produce more food at less expensive than the same amount of food purchased fresh or canned from a grocery store.

Canning Fruits and Vegetables

Posted by howtoc67 on
Our Blog

The three most common canning methods.

  1. Cold Pack method
  2. Hot pack method
  3. Open the Kettle

Cold Pack method: Raw fruit is packed into a sterile jar and hot syrup is added to fill the jar to within a ½ inch from the top. A lid is placed on the jar and then processed in a boiling water bath or a pressure cooker. The processing can also be achieved in a 275 deg. F. Oven. The length of time it takes for processing will depend on the fruits or vegetables being processed.

Hot Pack Method: The raw fruit is simmered in syrup for 5-10 min then it is packed with the syrup into hot sterile jars. The jars are filled to within ½ inch of the top. The filled jars are then processed in boiling water for 15 minutes. Smaller fruits such as cherries or berries are simmered with sugar to taste for 5 min., then packed and processed for 10 min., in boiling water. Due to shrinkage in this process, fewer jars are needed and you get more servings per jar.

Open Kettle Method: The fruit is cooked in syrup for about 15-20 min. It is then packed in sterilized jars and sealed at once. The Open Kettle method is not recommended for, meat or fish.

General Canning Directions

1: Select only the freshest fruits and vegetables available. Unripe or overripe foods are not recommended for canning.

2: Blanch by plunging small quantities of product into boiling water for a set period. The object of blanching is to help in removing the skin or to make the product more pliable which helps in packing it into the jars. Most green vegetables are blanched by steaming rather than plunging them into boiling water.

3: Cold Dip by plunging fruit or vegetable into cold water. The reason for cold dipping is to cool the product so that it can be easily handled. Cold dipping also helps in setting the color of some vegetables.

Some vegetables do not need to be cold-dipped.

4: Packing: you must pack fruits and vegetables firmly or else the jars will not be full because of shrinkage during processing.

5: Process your fruits and vegetables with great care. Each fruit and vegetable will have a different processing time. Many different books and websites can help you with the right processing charts. Most canning jar suppliers will have the charts you need right in the box of jars.

Canning Fish

Attention to detail is necessary for canning meat and fish! Use only the freshest fish available. Clean and wash the fish with cold water. Remove the head, tail, and backbone. Soak the fish for ½ hour in salt water. Drain well. Cut the fish into pieces that will fit into the jar. To a quart jar add 2 tsp. Olive oil or butter, 1 tbsp vinegar, 2 or3 tbsp. of water and 1 tsp. Salt. Put the lid on the jar and put the jar into a water bath. Process for three hours. Time from the point the water returns to a boil. Remove the jars and allow them to cool completely. Do not invert to cool.

Canning Meat

Clean meat with a damp cloth. Remove bones and excess fat. Cut the meat into serving pieces. Heat the meat by roasting it or frying it in a small amount of oil. Pack the meat into canning jars. Add some boiling water to the oil in the frying and de-glaze the pan. Put about 3 to 4 tablespoons of this liquid into each jar. Add 1 teaspoon of salt to each quart jar. Process for 3 hours at a full boil. You must make sure the boiling water covers the jars at all times. Remove from the water bath and let cool completely.

Harvest Fruits and Vegetables From Your Own Garden

Posted by howtoc67 on
Our Blog

Why not harvest Fruits and vegetables from your garden? This would be a great way to change the place you live in, from your house to your Home!

Yes indeed, you can create your garden with very little investment, and with modest inexpensive means. You do not have to spend a fortune, to grow and eat fresh healthy fruits, berries, and vegetables in your backyard.

The best part of it is that you can grow them organically, without using dangerous chemical fertilizers and pesticides, to poison your body. There are so many simple ways to make the soil of your garden fertile, and rich in minerals. Make your own composted material, from things that otherwise will waste away.

Composting, for example, does not require any special skills whatsoever, just a little common sense. Let us think of the woods for a moment, and see how Mother Nature fertilizes the soil and the environment in which the trees are living, in a perpetual mode.

The trees are dropping the dead or broken limbs, and the leaves, decompose, naturally, with the help of the water, wind, sun, and microorganisms, the bacteria that feed on decaying vegetation and turn them into rich nutritious humus.

Like in any successful and fruitful garden, the first important thing to do is the preparation of the soil. Make it fertile. The cheapest way to accumulate the amount of natural fertilizer necessary in your garden, according to its size, is the leaves. They are readily available almost anywhere. And you do not even need a complicated composting drum if you can not afford one. Just make a pile of leaves in one of the corners of your property, and turn the leaves with a pitchfork, now and then, and you will have a nice amount of good rich compost to fertilize your garden plot, naturally!

Once the compost is nicely black and full of nutrients, spread it on top of the soil in your garden plot and till it in, with a tiller or a spade. And by the way, you will find out that using the spade is the best physical exercise you can have for free. It is good for your body, your mind, and your soul. Work and live in peace, in the tranquility of your little Paradise that you are creating: your garden.

Make a list of what fruits and vegetables you would like to grow. For the fruit trees, it depends on what part of the country you live in. But think of, apple, plum, peach, pear, cherry, or any other trees that you like, and plant them in a little orchard, if you have the space. Or plant fruit trees strategically to improve the landscape of your property. This should also help to raise tremendously the value of your home.

For vegetables, there is an endless list of possibilities, but you can choose what you like the best. A few ideas would be, tomatoes, sweet and hot peppers, cucumbers, snap beans, peas, lettuce, carrots, cabbage, and also herbs, like dill, parsley, arugula, cilantro, basil, rosemary, celery, lemon balm, lavender, etc.

By having your garden you can save a lot on your grocery bill, and the most important thing would be that you eat healthy, vibrant, and full-of-life fruits and vegetables. The saying goes, ‘you are what you eat.’ Why spend all that hard-earned money on some old and tasteless fruits and veggies from the supermarket shelf, that traveled a long distance to get there?

You can start any time. Why not right now? Take a stroll through your yard, and choose that nice sunny spot, that is just wasted space, maybe with overgrown weeds. It is not too late to think of a fall crop. Or start planning for the next season. Rake the leaves and do not burn them! It is like burning some of your cash. Time is going fast, and time is of the essence. Procrastination is not going to take us anywhere. So, let’s get busy and get our hands dirty. You will be glad you did.

Buy your seeds early, and start them indoors in the winter. Prepare your garden and if you plan on starting in the spring, plant when the danger of late frost is over.